Proper Installation Space?
In the installation area, allow at least 1 inch (2.5 cm) of clearance on both sides and 4 inches (10.1 cm) between the back of the appliance and the wall for waterline and power cord and drain hose clearance.
Is the unit being installed in a closet?
Closets with doors must have both an upper and lower vent to prevent heat and moisture buildup in the closet. One upper vent opening with a minimum opening of 48 sq. in. must be installed no lower than 6 feet above the floor. One lower vent opening with a minimum opening of 24 sq. in. must be installed no more than one foot above the floor. Install vent grills in the door or cut down the door at the top and bottom to form openings. Louvered doors with equivalent ventilation openings are also acceptable.
Proper Floor Condition?
Is the floor sturdy and level? To minimize noise and vibration, install the washer on a level, solidly constructed floor capable of supporting the washer without flexing or bouncing. Installing on carpet or soft tile is not recommended.
Water Supply Available?
If the unit has a water valve hookup, make sure the customers water supply is adequate and able to supply 20-120PSI to the unit.
Proper Power Supply (Dryer)?
Ensure the power outlet is supplying 240Vac +/- 10% to the dryer and is on a dedicated 30 Amp Circuit
Proper Power Supply (Washer)?
Ensure the power outlet is supplying 120Vac +/- 10% to the washer and is on a dedicated 15Amp Circuit.
Proper Drain?
Ensure that a proper stand off pipe or other appropriate drain is available. The Standpipe should not be lower than 24 inches and not higher than 96 inches from the bottom of the appliance.
Available venting?
Ensure there is access to proper venting in the installation area (Ducting to the outside of the home).
- Ensure all external shipping material has been removed from the unit.
- Verify that the unit is free from dents/scratches/other cosmetic imperfections
- Before moving the washer, ensure it can pass through all doorways and narrow openings.
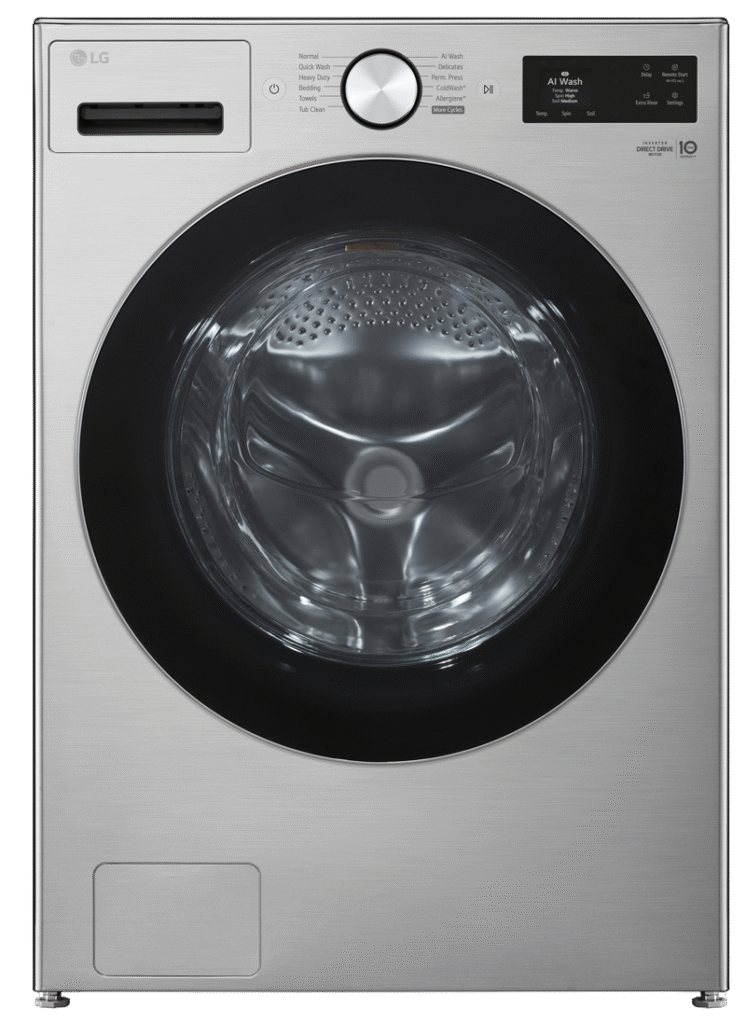
Washer Checks
- Remove all four Shipping Bolts from the rear!
- Ensure the unit is properly plugged into the 120Vac outlet. It is not recommended to use a power strip or add other appliances to the outlet.
- Check to make sure the water line connections are correct (Hot to Hot, and Cold to Cold), opened, secure and leak free. It is not recommended to use flood safe water lines.
- Make sure the drain hose is no deeper in the Standoff pipe than 4” if the drain hose is deeper, it may cause a backflush situation, a slow drain or no drain situation and could possibly give an IE error code.
- Ensure that the drain filter is installed.
- Properly Level the unit. A carpenter's level can be used across the top of the appliance (Use the leveling legs to level the unit. Leveling legs should all be contacting the floor).
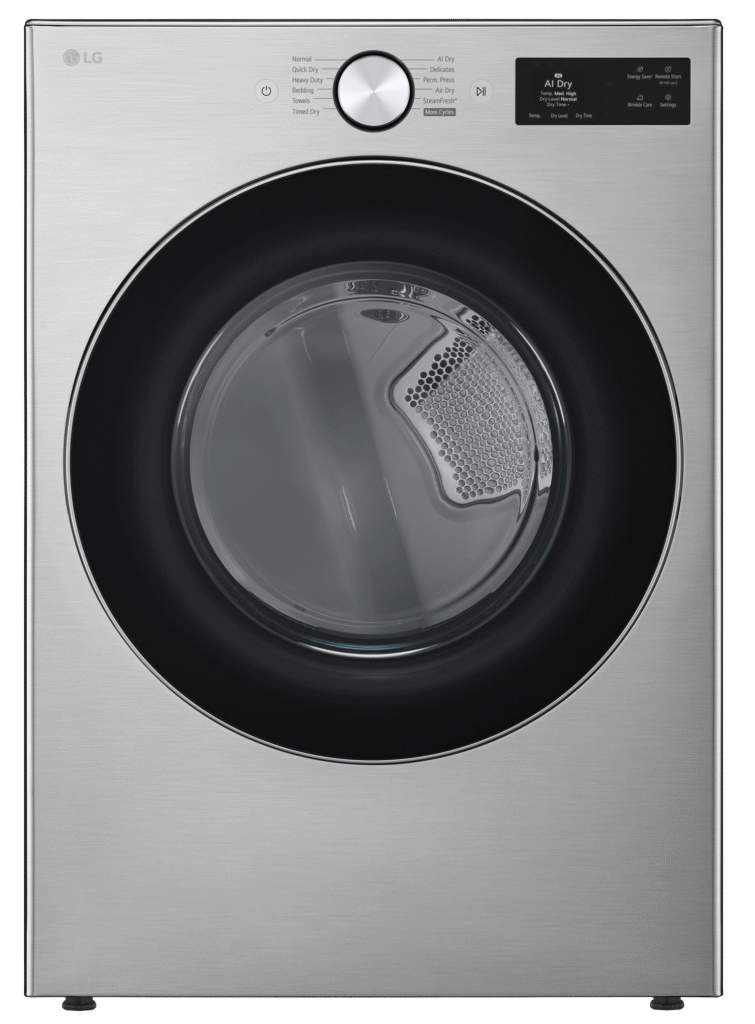
Dryer Checks
- Ensure the unit is properly wired at the terminal block, use either 3 wire or 4 wire power cord per your application. #10 AWG-minimum copper conductor power cord through the strain relief.
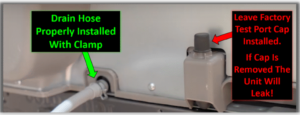
- Make sure the drain is connected to the correct port on the back of the drier. (Critical Step: Ensure the drain port is hooked up and not the factory service port)
- Make sure the drain hose is no deeper in the Standoff pipe than 4” and properly secured.
- Make sure the lint filter is installed.
- Properly Level the unit. A carpenter's level can be used across the top of the appliance (Use the leveling legs to level the unit. Leveling legs should all be contacting the floor.
Washer Checks
- Make sure the unit is powered on. Display and lights should be functional.
- Run Test Mode before leaving the home. Check for leaks, vibrations, abnormal noises during Test Mode to validate all components are functioning properly.
Dryer Checks
- Make sure the unit is powered on. (Display and lights should be functional)
- Run an Installation Test. Make sure the drum is empty and the unit is cool. Press and hold the Temp button and Signal button then while holding press Power to enter InS (Install Mode). InS should show on the display. The unit will start the test; it will last a few minutes. If the exhaust system is severely restricted, the Flow Sense LED will turn on. If it does not, then the system is clear and ready for use. Note: Different models may use different button combinations to enter installation mode. If (Temp + Signal) does not work for you model, check the owner's manual for the correct button combination for your model.